| Beware traveller! | |
| This article has spoilers form the mod The Gray Cowl of Nocturnal. |
|
The Call of Gray Cowl of Nocturnal
| |
|---|---|
| |
| Quest Information | |
|
Quest ID
|
manny_GF_MQ
|
| Quest Navigation | |
|
Next
|
|
The Call of Gray Cowl of Nocturnal is the main quest of the mod The Gray Cowl of Nocturnal. It starts when the Dragonborn steals or pickpockets something.
Objectives[]
- Reach the place.
- Find the hall of the initiation.
- Reach the other side.
- Get the four keys.
- Follow Arenar.
- Speak with Arenan.
- Speak with Syloria.
- Find a way to enter the Mausoleum.
- Get into position and shoot the arrow
- Return to Seviana.
Recommended Prerequisites[]
The quest is heavily focused upon stealth. Hence, it will become a lot easier if the Dragonborn has high skill points in Sneak, Lockpicking, Pickpocket and Illusion. Following are the perks that will make the quest even simpler, though they are not required.
| Skill | Perk | How it can help |
|---|---|---|
| Sneak | Stealth (5/5) | Dragonborn is 40% harder to detect while sneaking |
| Sneak | Muffled Movement | Noise from armor is reduced by 50% |
| Sneak | Light Foot | Dragonborn won't trigger pressure plates |
| Sneak | Silence | Walking and running does not affect detection |
| Sneak | Shadow Warrior | Crouching stops combat for a moment and forces distant opponents to search for a target |
| Lockpicking | Master Locks | Master locks are much easier to pick. (there are many master locked chests in the mod) |
| Pickpocket | Keymaster | Pickpocketing keys almost always work |
| Illusion | Quiet Casting | All spells cast from any school of magic are silent to others. |
| Illusion | Expert Illusion | Cast Expert level Illusion spells for half magicka. (If Dragonborn plans to use Invisibility Spell) |
NOTE: These are just the recommendations, and not requirements.
If the Sneak, Lockpicking, and Illusion are not high enough, the Dragonborn may have a challenging way ahead. This is also a good opportunity to increase these skills.
Walkthrough[]
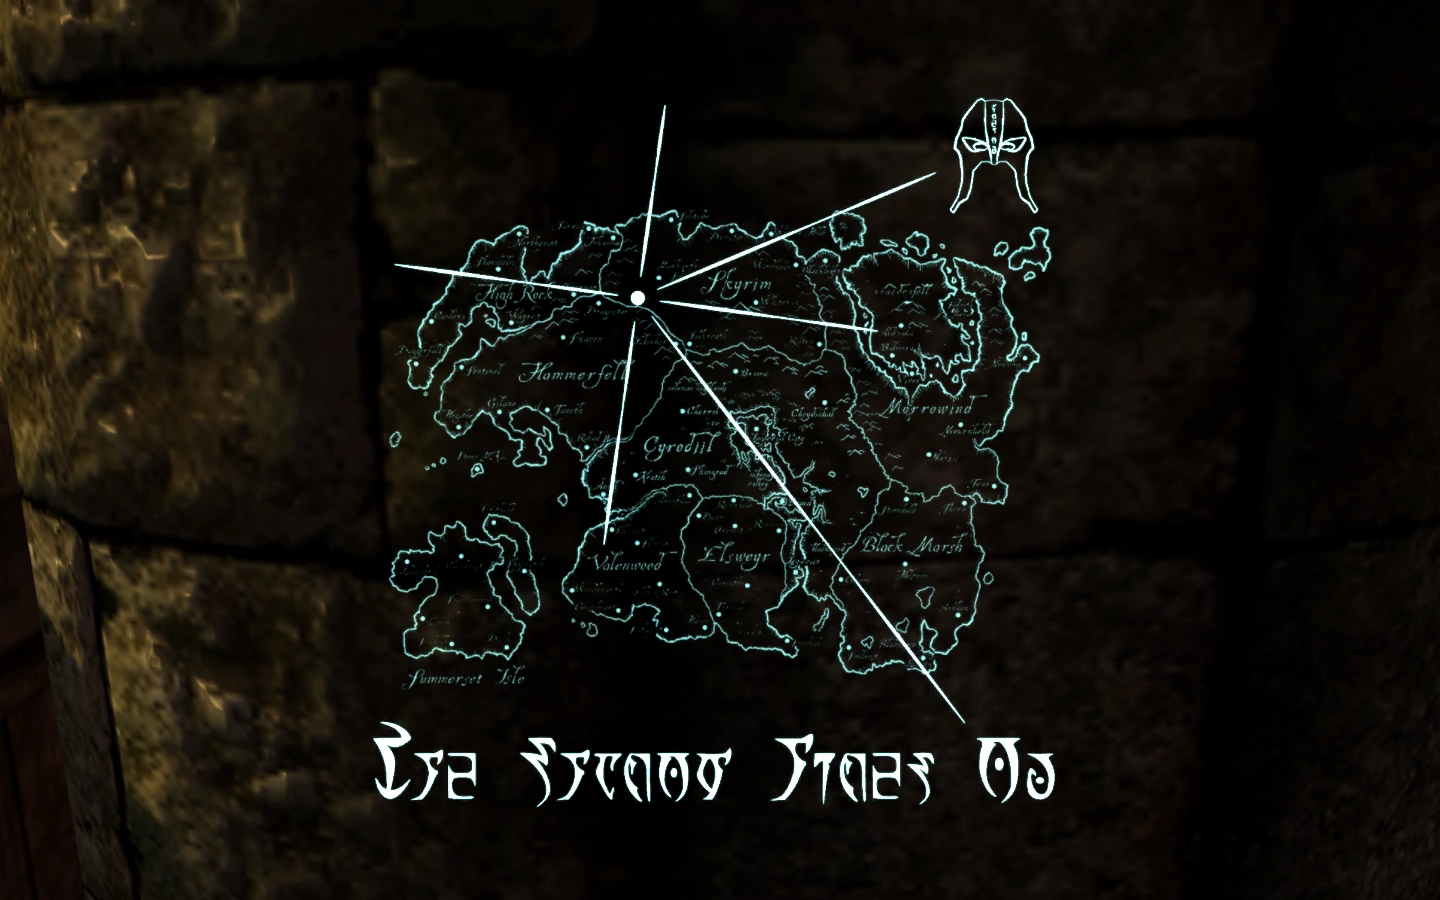
To start the quest Dragonborn needs to steal or pickpocket something. A vision of Tamriel will flash before him/her with the location of Seviana’s House marked.
Reach the place[]
Travel to that location and talk to Seviana Umbranox. She tells the story of The Gray Cowl. After a brief conversation Seviana hands over ‘Arrow of Extraction’ and ‘Key to Hall of the Initiation’ to the Dragonborn and directs him/her towards the Eye of Cyrodiil to start the quest. She warns that the Dragonborn must go alone and not take any followers with him/her.
Hall of the Initiation[]
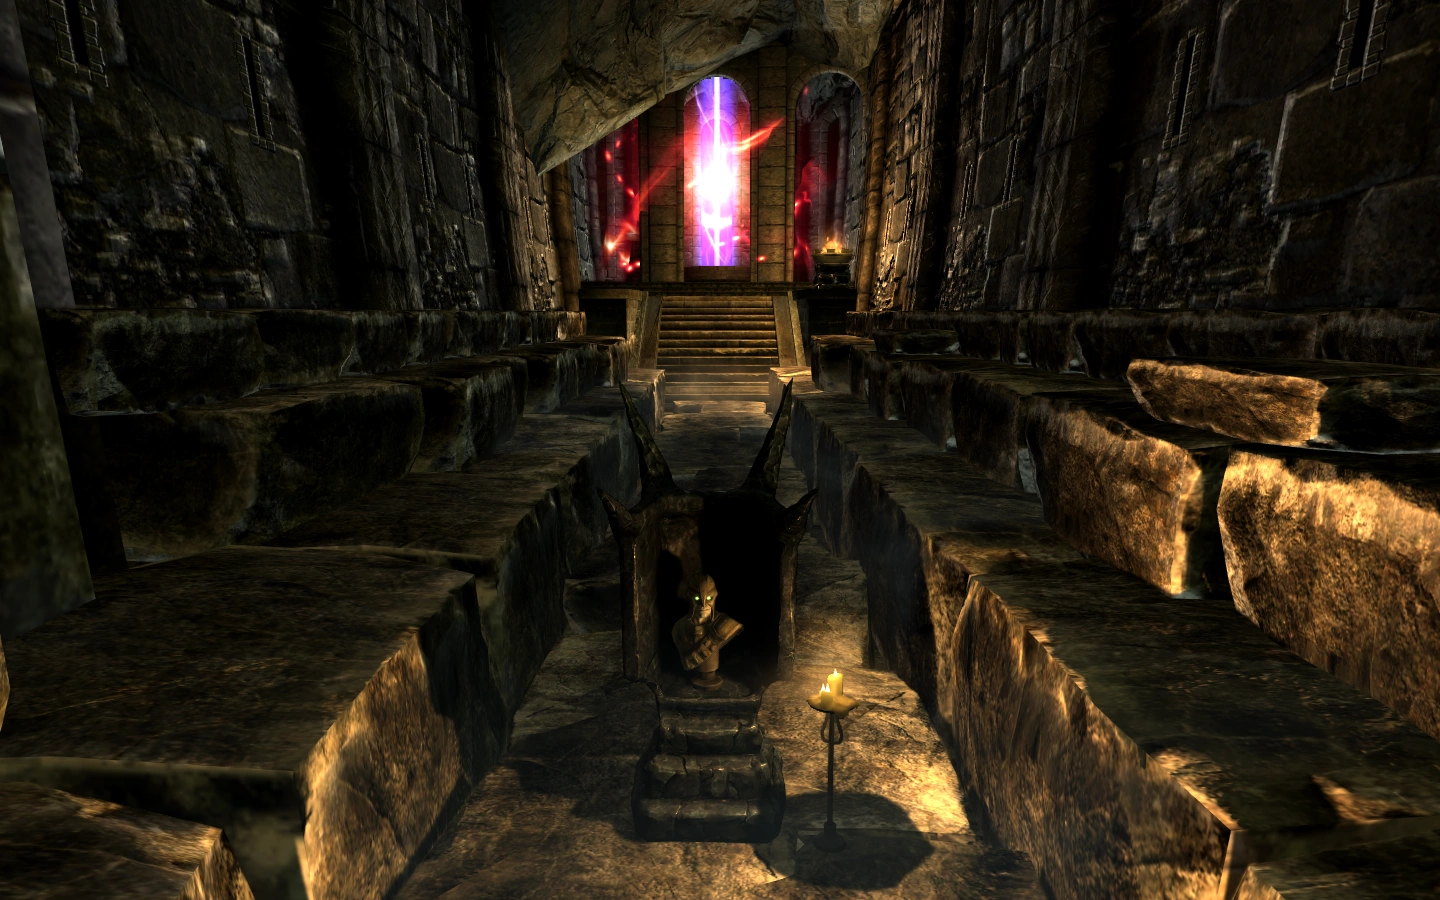
Hall of Initiation
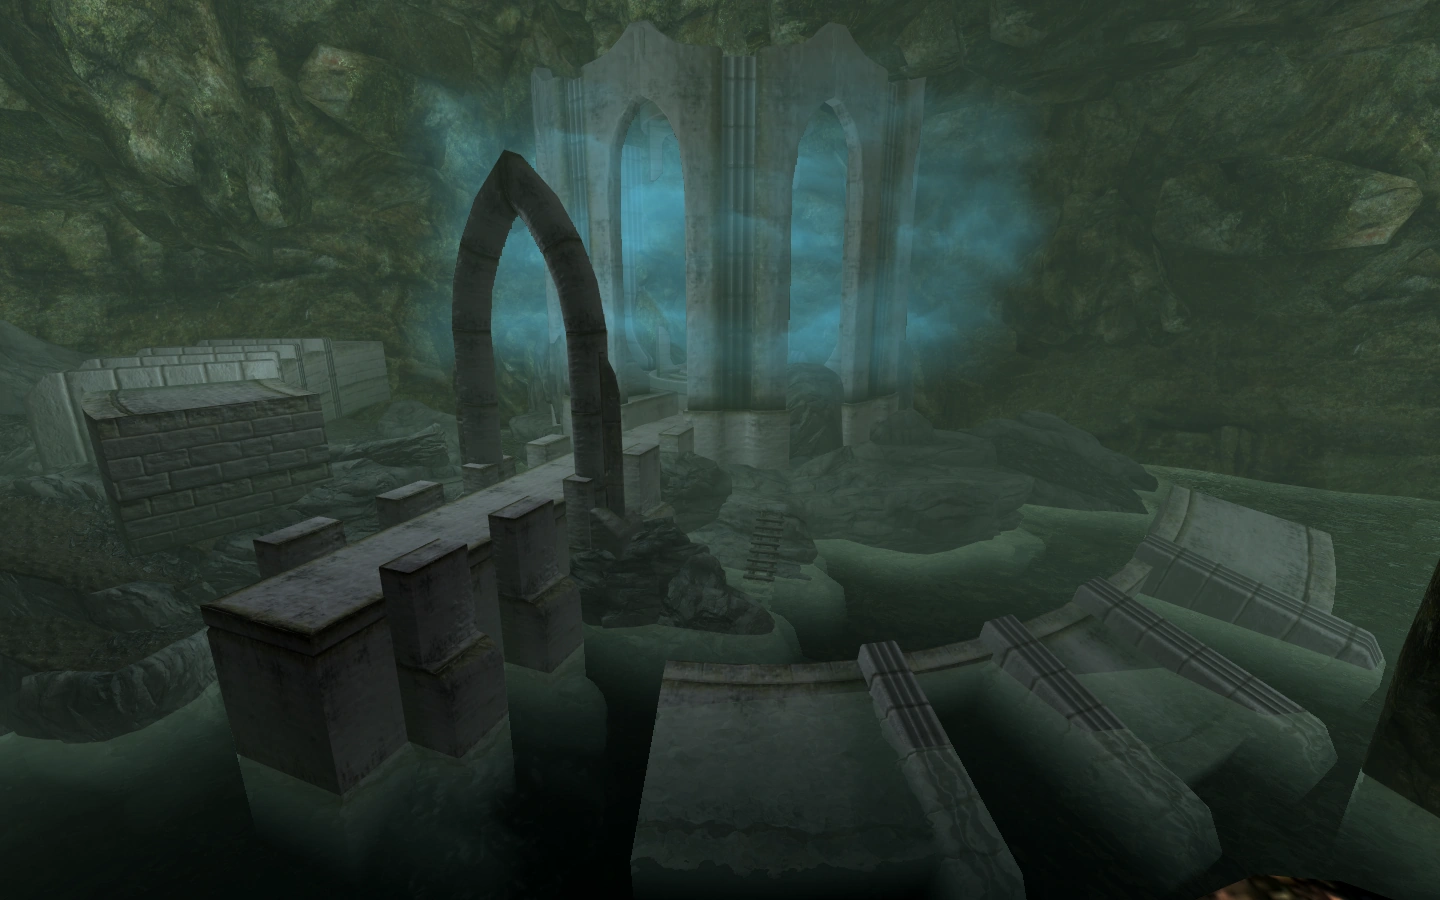
The Eye of Cyrodiil is at the south-west of Bloodlet Throne. The main door is blocked by three other doors. First, one can be opened by pulling the chain just next to it. The second and the third door requires activating levers that are at the top of high towers standing tall on either side of the main monument. Entering these towers require Key to Hall of the Initiation. Once all three doors are open the Dragonborn can enter the Hall of the Initiation. It is a long and narrow empty hall. Once the Dragonborn gets to the other end of the hall, a bust of Gray Fox will appear almost at the middle of the hall. Activating it will open up a portal to the next area ‘Old way of the thief’.
In the old way of the thief, follow the straight path. At the end of the path, the Dragonborn would find two small chests and some lockpicks on the table. Next to the table would be a locked door that requires a key. Move forward and pick the Adept locked door down the corridor. Key to the locked door is in this room, ‘Key to Chamber of Fire’. Grab the key and come back to the locked door. Next, the Dragonborn will find a bow and the spell Clairvoyance. Continuing forward, the Dragonborn gets to a large open pit of fire.
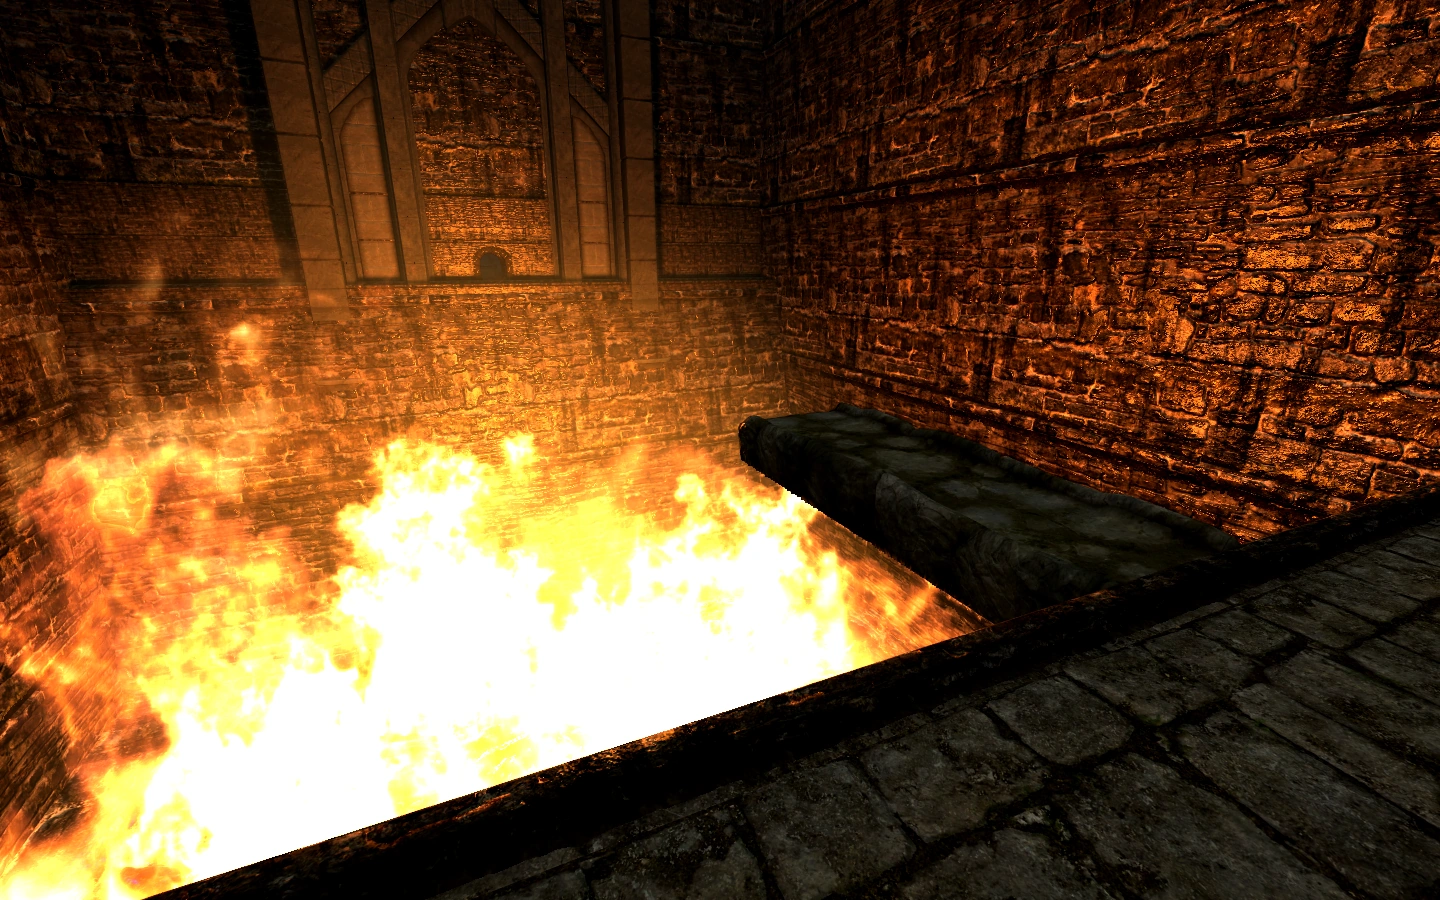

Pit of Fire
This chamber has an invisible path to reach the other side. Use Clairvoyance to highlight this path. Once the Dragonborn gets to the end of the path, use Clairvoyance again to highlight the path ahead. Repeat the process to get to the other side.
NOTE: It is important that the quest ‘The Call of Gray Cowl of Nocturnal’ is selected in Dragonborn’s journal and the player must be able to see the quest marker on the other side of the Fire Pit. Otherwise, the Clairvoyance spell would not be able to highlight the path.
Next, the Dragonborn gets into a round chamber with a portal at the center. Head into the portal to Hidden Chambers of Sancre Tor.
Hidden Chambers of Sancre Tor[]
Head downstairs and open the door to a large room. Head downstairs again through the door and continue until the Dragonborn gets to a four-way. Way ahead has a closed gate. Turn left from here. Beware of the trap. Continue down through the broken corridor. The Dragonborn will reach another large room. The gate at the end of the room would be shut. Other side of the room has a passage that leads to the lever that opens this gate. Gate which just opened up has a trap, so be careful. Follow the passage until the end, where there is a map of Cyrodiil on the wall and a raised stone just left to it. Activate the stone. This opens the gate that was locked at the four-way. Head back there.
Next area has a locked door at the center and two doors at either side of it. The locked door requires four keys to unlock which can be found in the adjacent rooms. These rooms belong to members of the blades: Captain Steffan, Jauffre, Cyrus and Baragon. According to Caio’s Journal Vol. 2, they were the old friends of Champion of Cyrodiil and their ghosts must not be disturbed. They roam around in their respective rooms doing random activities and do not stay at a place for a long time. This makes it easy to pickpocket the keys from them. After the Dragonborn has all the key, use them to unlock the door. Next room has tombs of Renault and Glenroy. Between these tombs, on the ceiling is a pullbar, which unlocks the gate ahead and the portal to the Imperial City Prison.
Imperial City Prison[]
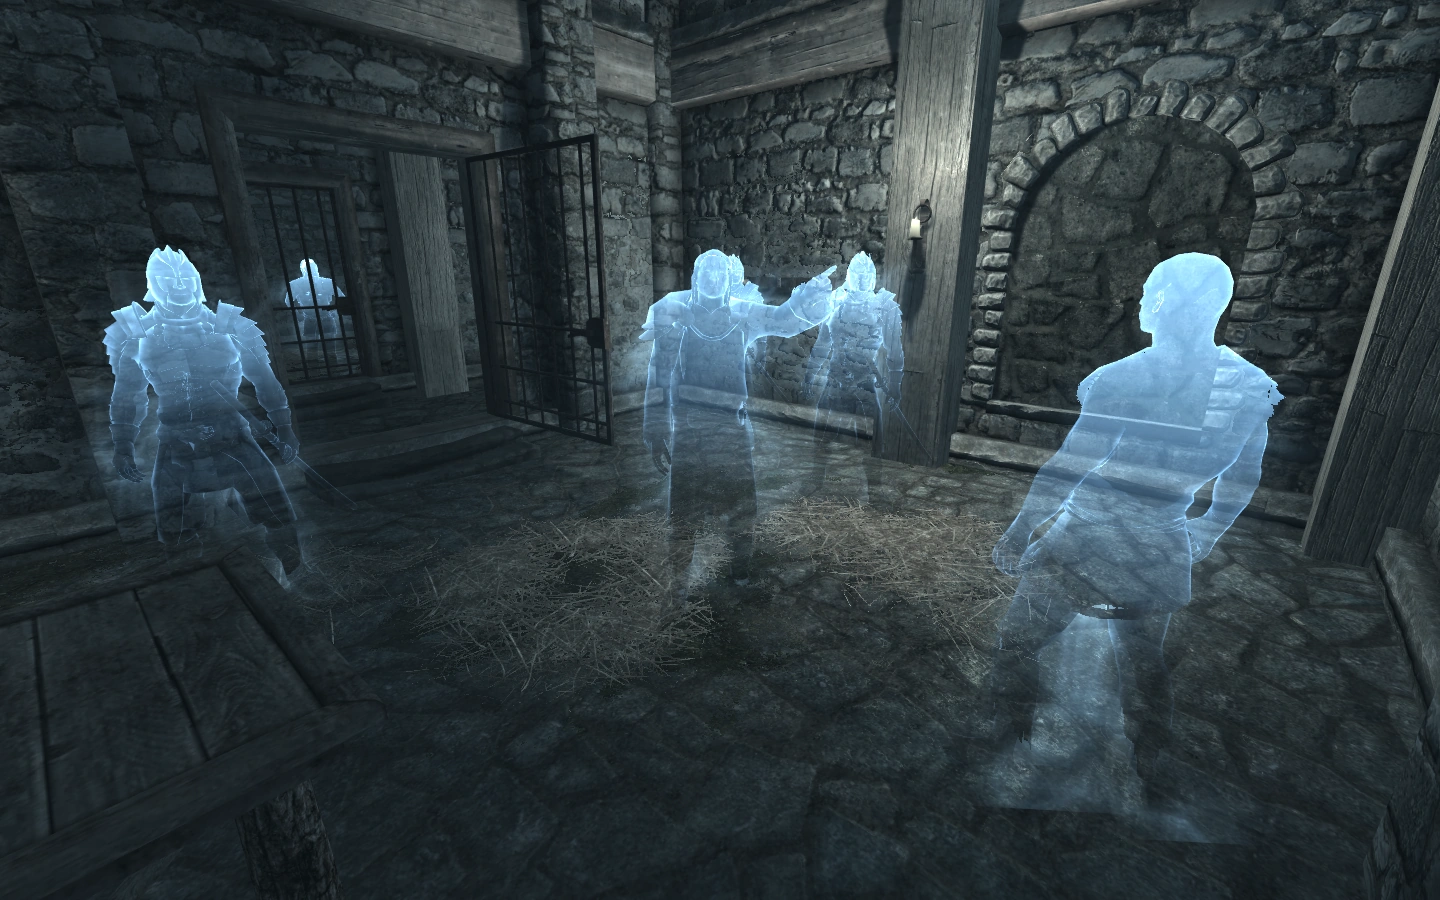

Uriel Septim VII meets The Champion
The portal teleports the Dragonborn to the exact same cell of prison from where the story of Champion of Cyrodiil starts. Ghosts of the Champion, Uriel Septim VII, Baurus, Renault and Glenroy appear and the Dragonborn gets to see what happened 200 hundred years ago in that prison cell. The tunnel from where the emperor, his bodyguards, and the Champion escapes is sealed off at the current time.
A Thalmor soldier is torturing a prisoner in the cell diagonally left, and another Thalmor soldier is patrolling along the passage. To continue, the Dragonborn needs to go to the opposite cell and nowhere else. Hence by careful timing, conflict can be avoided. Dragonborn can also use Invisibility potions or spells the make the things easier. The opposite cell is Novice locked. Inside it, Dragonborn will find a new spell, and the remains of Valen Dreth. On the wall behind his remains, an option can be found for ‘Activate: Bury Valen Dreth’. This will start the misc. quest to bury him in Falkreath.
The spell: Ancient Vision under Illusion is an important spell as it is an integral part of many of the puzzles in the game. It alters the nearby environment to the way it was in the ancient past for a few seconds. The spell does make some noise and using it may alert the nearby Thalmor soldiers. Dragonborn doesn’t need to worry about the noise if he/she has the ‘Quiet Casting’ perk under Illusion. A unique weapon, Elven Club, can also be found here on the table. It does not do any significant damage but staggers the opponent.
Altar which leads to Umbra
Coming back to the Champion’s cell and using Ancient Vision near the place where the old tunnel used to be will reveal the tunnel itself. Go through it. Use it again to go through another dead end. Continue forward till Dragonborn reaches a cliff. Here use the spell to bring up the bridge. Cross it and repeat the same. Use the spell again to open up the way ahead. Continue ahead until the Dragonborn gets to the statue of Clavicus Vile behind iron bars. Here Dragonborn can acquire Umbra. (See this page for direction to acquire it.)
Continue downstairs till the end. Going straight will lead the Dragonborn into a Master Locked room with six chests. Come back and go to the right side passage. Keep going till the Dragonborn finds a locked wooden door on the left hand side that requires a key to unlock. Follow the passage straight away. The Dragonborn will get to a room with two shut gates. Using ancient vision her will reveal another shut gate, and make one of the walls disappear. Go through the wall into the next room. Here use the spell again to reveal a small lever on the wall. This lever will open the gate which gets revealed only when Ancient Vision is used. So when the Dragonborn comes back to the previous area and uses the spell again, the gate would have been open. Flip the lever behind this opened gate. This lever opens the gate to its right. Flipping the lever inside this gate will open the third gate. This room which has the Key to the Candles Room in a bowl, along with various loot.
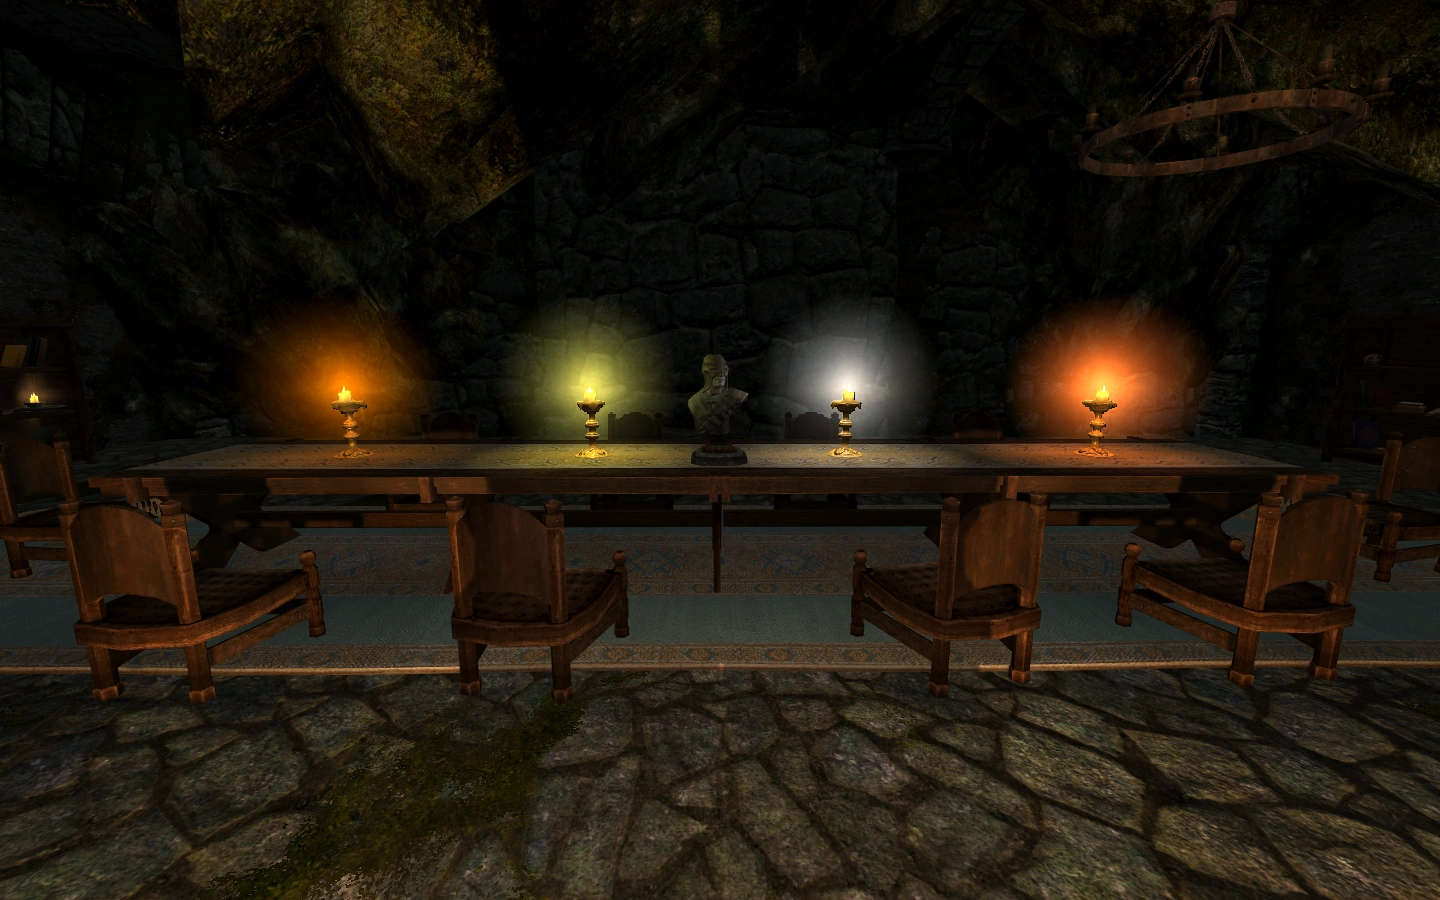
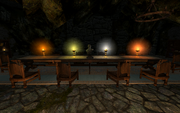
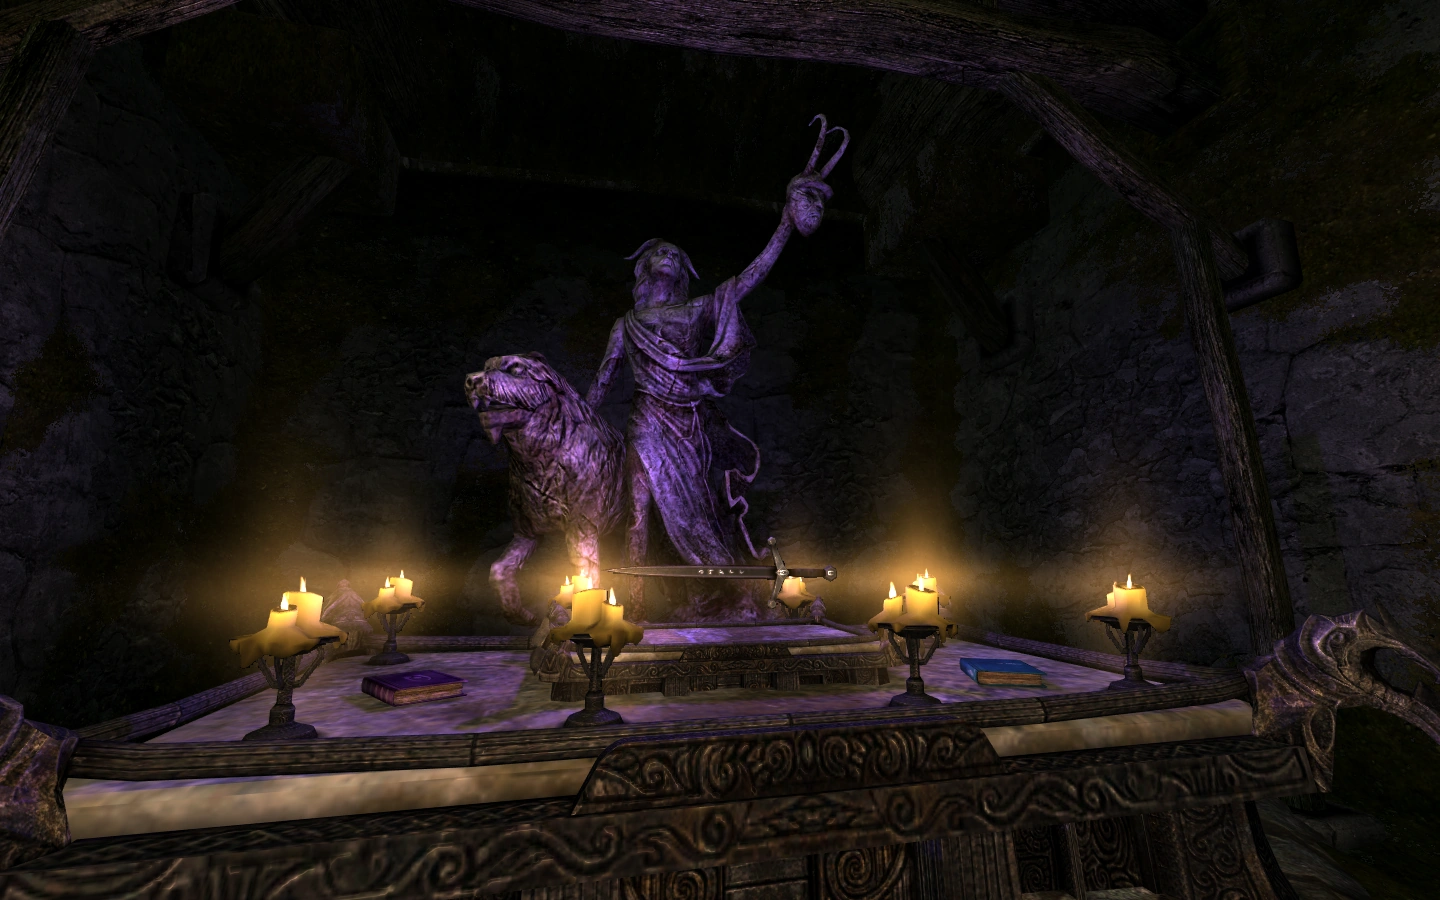
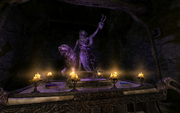
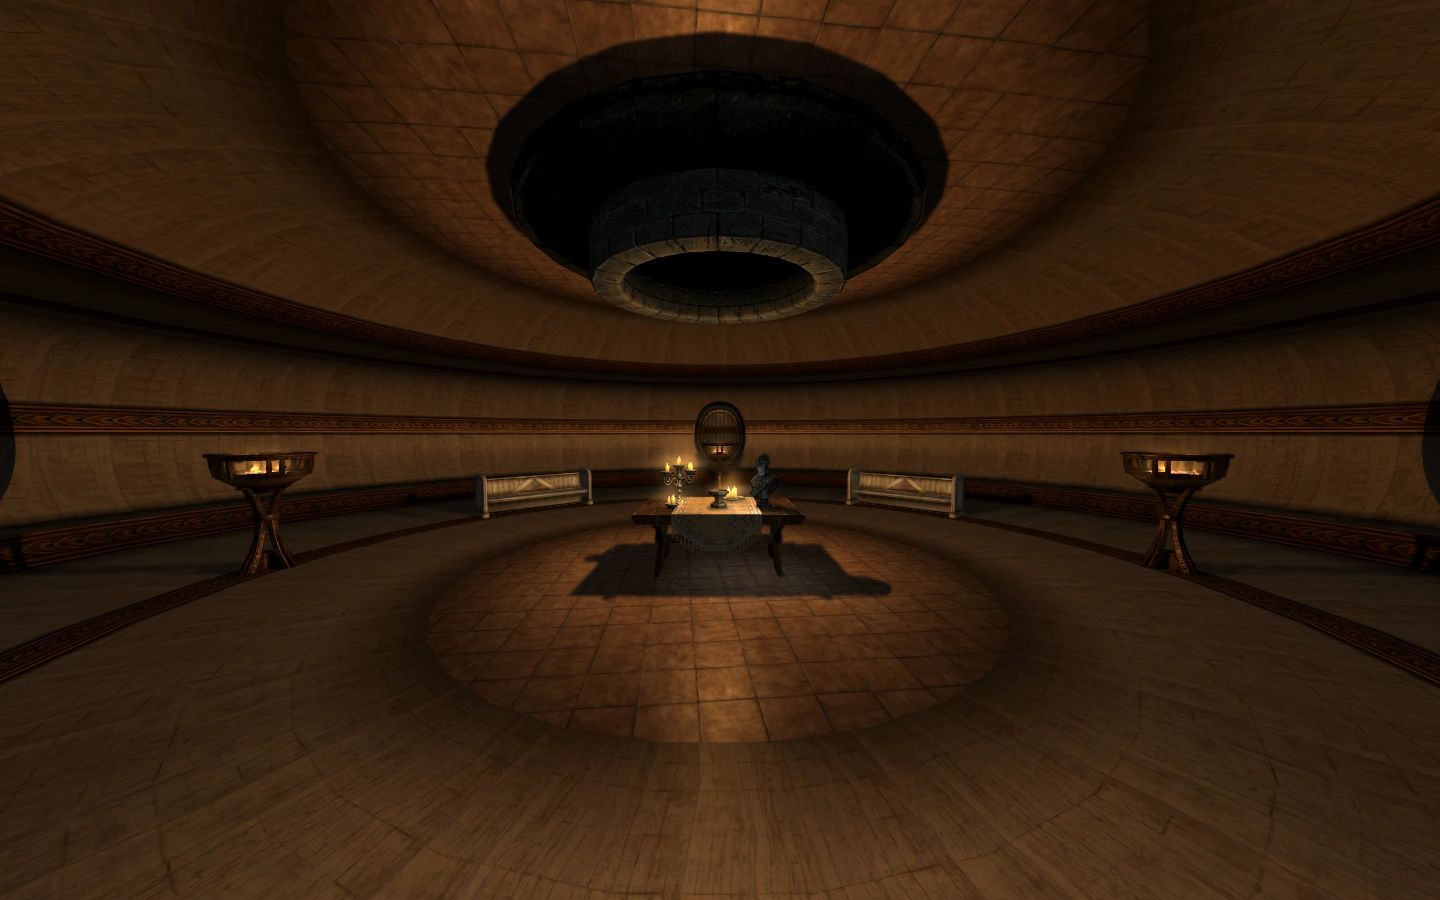
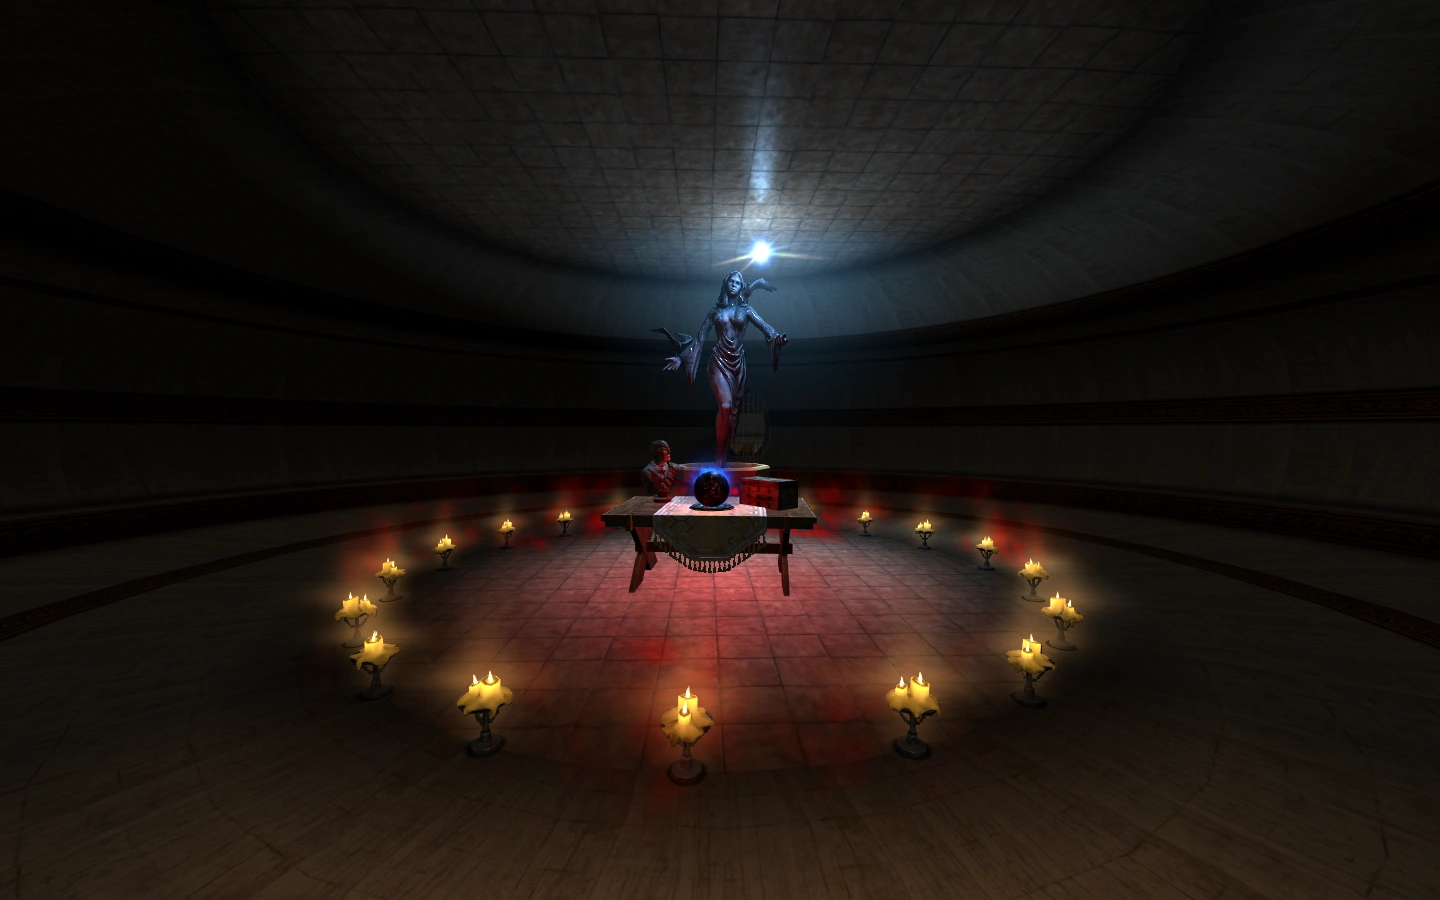
The Candle Puzzle
Head back to the locked wooden door. There would be a wall beside the door which can be crossed using Ancient Vision. This room has four candles on a table. The candles are to be lit in correct order to proceed. If the candles are lit in the correct order, the pullbar will open the way ahead, otherwise, it will reset the puzzle by extinguishing the candles. The bust of the Gray Fox gives the hint in the order of Sun, Candle, Fireplace & lastly the Moon. Following is the right order.
- Sun - Green shade – First candle to the left from the bust
- Candle - Light Orange shade – Second candle to the left from the bust.
- Fireplace - Dark Orange shade – Second candle to the right from the bust.
- Moon - Greyish shade – First candle to the right from the bust

Ayleid Ruin
Activate the pullbar and the wall behind the bust will descend, opening up the path for the next area. It is a large region with two Ayleid Wells. Get to the small one on the right side. Use Ancient Vision near it to use it. Activating it will open up the portal on the larger Ayleid Well. Get through it.
Coldharbour[]

Trap to Coldharbour
Apparently, the portal was a trap laid out by followers of Molag Bal. The Dragonborn gets teleported to Coldharbour. Molag Bal tells the Dragonborn to escape the Coldharbour without killing any of his followers. If the Dragonborn successfully does so, he will reward him/her. This starts the quest Reward of Coldharbour. See the quest page for details on how to escape the Coldharbour.
Halls of the West[]
Halls of the West - Interior
From Coldharbour, the Dragonborn gets teleported to Halls of the West. In the first room, there are two passages, one at the front and other at back. The front path barred up. This is the first barred gate. Head into the passage that is open. Turn right, continue, and then turn right again. In front of the Dragonborn will be the second barred gate. It will open up automatically when the Dragonborn reaches near to it. Flip the lever. Head back and turn immediate left (from where the Dragonborn had just come). Keep going straight until Dragonborn gets to an area with two benches facing each other and the third barred gate. Go left into the passage. Keep going till the Dragonborn finds a lever. The barred gate of this lever was opened by the lever of the second barred gate. Flip the lever. Go back through the area with two benches and continue straight till a left turn with stairs going up comes. Go through the passage to find two circular chambers attached to each other. The second circular chamber will have a lever. The bars blocking this lever had been brought down by the last lever. Flip down this lever. Doing so will open up the barred gate which was in the area with two benches facing each other. Go back to that area again and walk through the opened passage. The lever at the end of this passage opens up the first barred gate in the first room (the room that has the bust of Gray Fox in it). The passage that opens leads to five more passages. First, third and fifth passages merge up to a barred gate. Second and fourth passage go down and they too merge with each other. Go through the second or the fourth passage to find a bench. In front of that bench would be a lever. This lever will open up the barred gate at the end of First, third and fifth passages. Go back through these passages to get into the next area.
Statue of Nocturnal
This area has a statue of Nocturnal at the center. Go through the portal at the right side of the room. The portal will take the Dragonborn to a Dwemer ruin called ‘House of Tempted Centurions’. The straight path takes Dragonborn to the Stone of Magicka, right path to the Stone of Stamina and the left path to the Stone of Health. Each stone is guarded by a Tempted Centurion. It is easy to sneak through them and is necessary to open the gates. If they are alerted, Dragonborn should grab the stone and quickly run out of their chamber. Due to the narrow gateway, they won’t be able to follow. Once the Dragonborn has all the three stone, he/she can take the portal back to the Halls of the west.
By acquiring these stones the Dragonborn’s Health, Magicka & Stamina will be increased by 5000 points. But to continue the quest, the Dragonborn needs to overcome the temptation of these stones and give them away. Here the Dragonborn is given an option to take away these stones and abandon the quest. But doing so teleports the Dragonborn to a very high altitude above The Eye of Cyrodiil, and falling from there ultimately kills the Dragonborn.* Hence the Dragonborn needs to give up the temptation of these stones and store them in the small chest in front of the Nocturnal’s statue. Once they are placed, activate the Stone of temptation to open up the passage to the next area.
In the next area, keep going through the corridor. The Dragonborn will find statue of Nocturnal in a small chamber. On the right of this chamber, will be the passage blocked by horizontal and vertical bars. Use Ancient Vision near the chamber to get through the meshed wall and use the pullbar inside it. This will clear out horizontal bars. Head left upstairs. The Dragonborn will find another blocked passage and a pullbar just left of it. Using the pullbar brings down the vertical bars of the previous area. Go back there, use the pullbar from that area and come back again. In the next area the Dragonborn finds the Boots of Springheel Jak. Continue forward. The Dragonborn will find a pullbar which will activate the lift. When at the top, the Dragonborn needs to make a long jump to reach the platform. Equip the Boots of Springheel Jak. With them, the Dragonborn’s movement speed increases drastically and he/she can make the jump. The Dragonborn can also use Whirlwind Sprint dragon shout to the get to the platform. After this, get out of the Halls of the West, into the Alik'r Desert.
- The Dragonborn can use the shout Become Etheral right before abandoning the quest to negate fall damage. The mod will have taken the stone of health from the Dragonborn's inventory but they will still be left with the stones of magicka and stamina.
The Alik'r Desert[]
Walking through the valley, the Dragonborn will soon meet Arenar Esdrecus. He will escort the Dragonborn to the city of Ben Erai and the Ben Erai Fortress. Arenar will introduce the Dragonborn to Syloria Peleu, the chief of Ben Erai. After a brief conversation, she asks the Dragonborn to talk to Arenar. He takes Dragonborn to the Portal room. From here, using Ancient Vision, Dragonborn can teleport to a location in Skyrim. This location, called ‘Teleport to Ben Erai’ is at south-west of Lakeview Manor.
NOTE: The linear gameplay of the quest ends here. From this point, Dragonborn is free to explore the new land, do side quests or even go back to Skyrim. Dragonborn can come back and continue the quest at any time.
Talk to Syloria. She further briefs the Dragonborn about what is to be done next. To get into the Mausoleum, Dragonborn needs the ‘Alliance of Ancestral Cheetahs Amulet’ and the 'Key to Oasis of Mora Sul'.
Al Shedim[]

Al Shedim
Al Shedim is the big monument located at the northern part of the map. The Dragonborn may need to fight a Duneripper and some Desert Wolves to get inside this place. Al Shedim is filled with Skeletons and Mummies. The Dragonborn can easily sneak through them with the invisibility spell or potions. Other than that, Al Shedim has many pressure plates that can instantly kill the Dragonborn. This is won’t be a problem if the Dragonborn has ‘Light Foot’ perk, or hovers as a Vampire Lord.
Inside Al Shedim, continue to the small room and then to a large room. This Large room has four ways in four directions. The way in the front and left is blocked by bars, so go right. Keep moving upstairs. In the next room, go straight and turn right when the choice comes. Keep going through the passage, no need to turn anywhere. Dragonborn will pass through small rooms with skeletons patrolling them. At the end, Dragonborn will find a room whose entrance has two large disks extruding from the wall having Daedric Alphabet ‘G’ (GETH). At the far end of this room is a chain. Pull it to lower one of the bars of the first large room. Return to that room and go through the newly opened passage. The way is pretty much linear, without any diversions, but filled with patrolling skeletons. The Dragonborn will eventually find a barred up passage on the left-hand side. Continue through the passage. The Dragonborn will find the second large disks extruding from the wall with Daedric Alphabet ‘B’ (BEDT). Pull the chain at the far end of this room. This lowers the bars of the passage that the Dragonborn found on the way here on the left-hand side. Go through that passage. The Dragonborn will go through a room with many skeletons patrolling. At the end, there is a chain. This lowers the bars of the second passage of the first large room. Above the chain is another large disk protruding from the wall with Daedric Alphabet ‘D’ (DOHT). Get back to the first large room and go through the newly opened passage. It will lead to a room with a puzzle. There are three large disks on the wall with Daedric alphabets on them. On the altar, there are three pullbars that rotate their respective disk on the wall. Dragonborn have to rotate the disks such that the top alphabets on these disks are ‘G’, ‘B’ & ‘D’. These are the same alphabets with the right order that were inscribed on the walls, near the chains that Dragonborn had pulled. The wall will descend and open up the way to ‘Deeps of Al Shedim’.
It is a small cave with the tomb of Ben Sala. He is tall and very fast. He keeps running from one spot to the other. Hence, even if the Dragonborn is invisible and is crouching, the chances of getting detected by him are pretty high. Taking the key without fighting Ben Sala is difficult, but possible. On the other hand, if the Dragonborn decides to fight Ben Sala, he/she can loot his unique shield - Yokuda. There is a chest behind his tomb containing ‘The Key to Oasis of Mora Sul’. Take it and get out of Al Shedim.
Lair of The Ancestral Cheetahs[]
NOTE: All the spells that either calm the creatures or make them flee are too weak for the Ancestral Cheetahs. The Dragon Shout: Kyne’s Peace doesn’t work either. Dragon Shout: Bend Will works but it affects only those Cheetahs that are in front of the Dragonborn. Rest will still be hostile and ultimately start fighting the friendly Ancestral Cheetahs
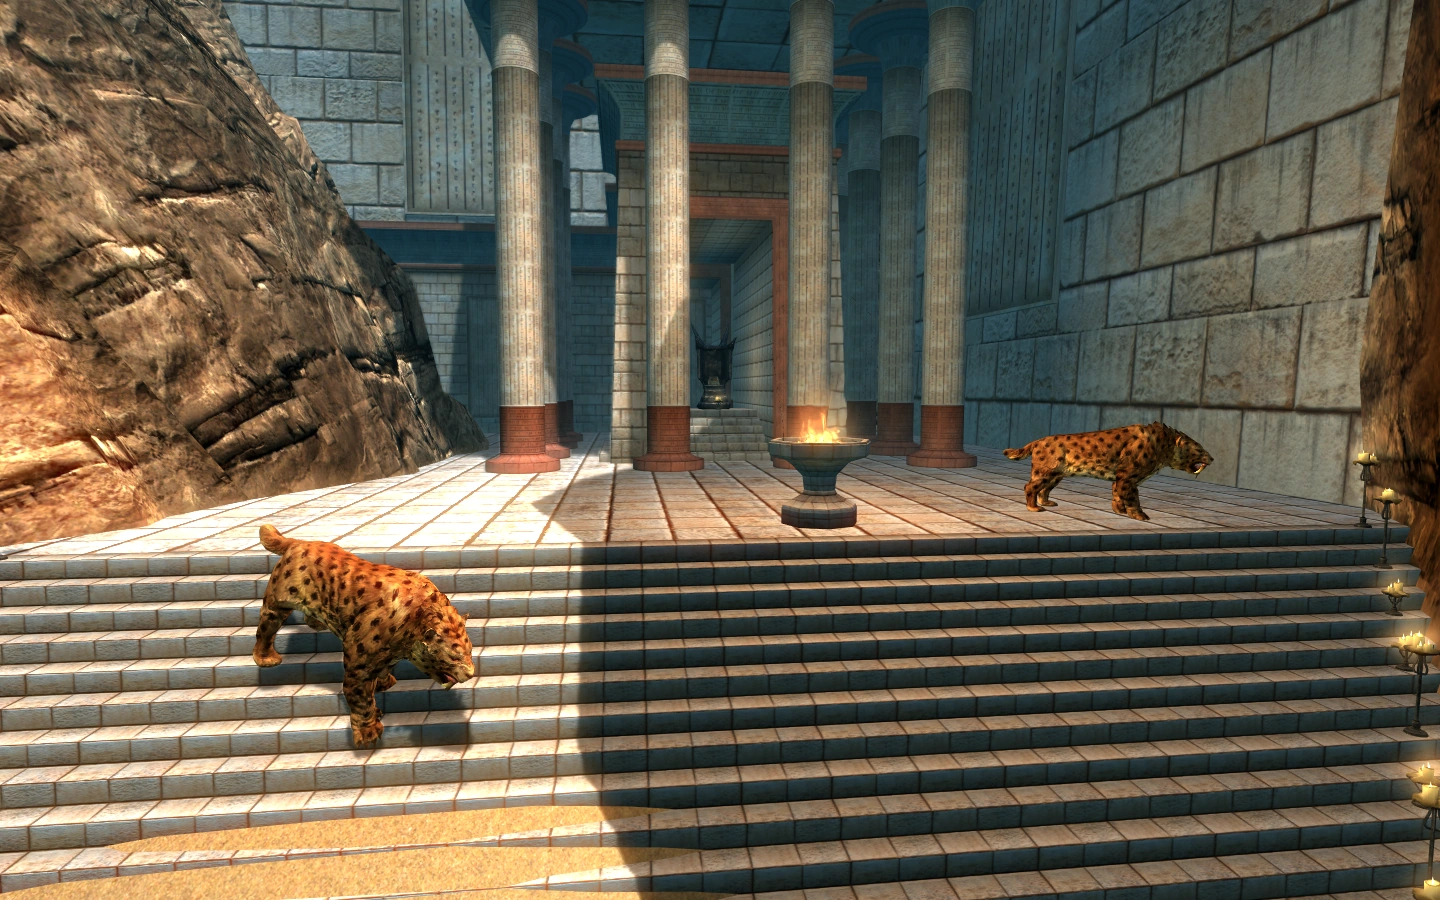
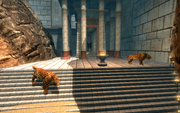
Amulet guarded by Ancestral Cheetahs
Lair of The Ancestral Cheetahs is just up north of Al Shedim. An ancestral cheetah guards the main entrance.The Dragonborn can sneak through it if he/she approaches the lair from the right side, keeping close to the walls. Using invisibility spells or potions is advisable. Once inside the lair, sneak through the valley till the area with two paths ahead. Right path will take the Dragonborn directly to the amulet, but he/she will have to kill all the Ancestral Cheetahs on the way, as it is pretty difficult to sneak through them. If the Dragonborn takes the left path, which goes uphill, all this conflict can be avoided. End of the left path will be barred up, but can be cleared by Ancient Vision. While sneaking and being invisible, grab the amulet from the strong box and equip it quickly. Now the Ancestral Cheetahs won’t attack the Dragonborn. Get out of the Valley.
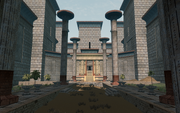
The Mausoleum[]
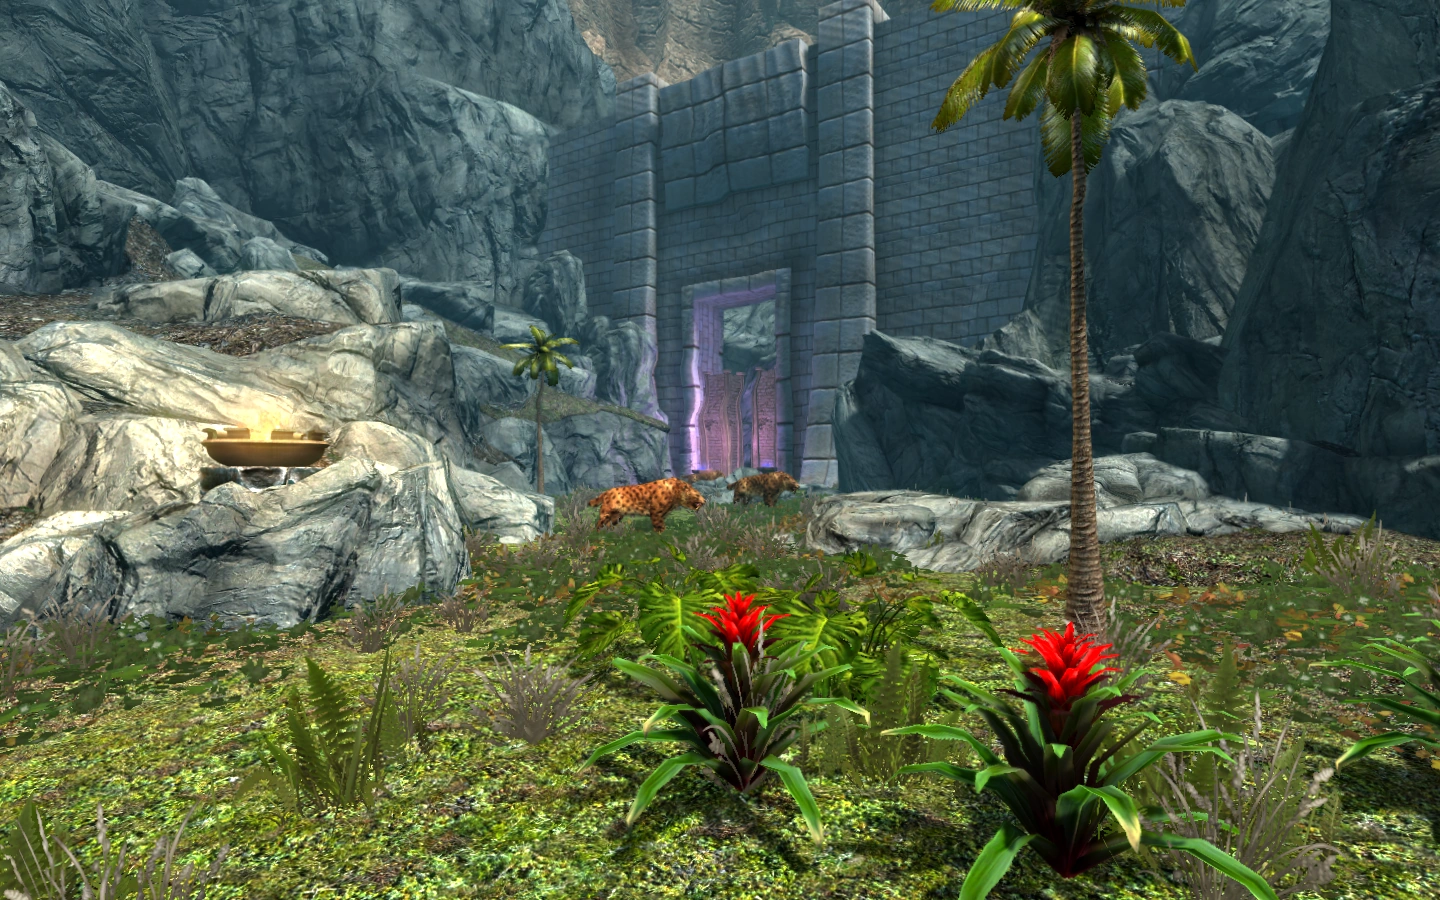

Oasis of Mora Sul
Head to the Oasis of Mora Sul. Its entrance is located south-east of Al Shedim. Unlock the door and head into the valley. Make sure the Alliance of Ancestral Cheetahs Amulet is equipped. Once at the Oasis, get near the wall with Imperial emblem, and the wall will descend. Enter the Cave of Mora Sul. This cave leads to the Mausoleum.
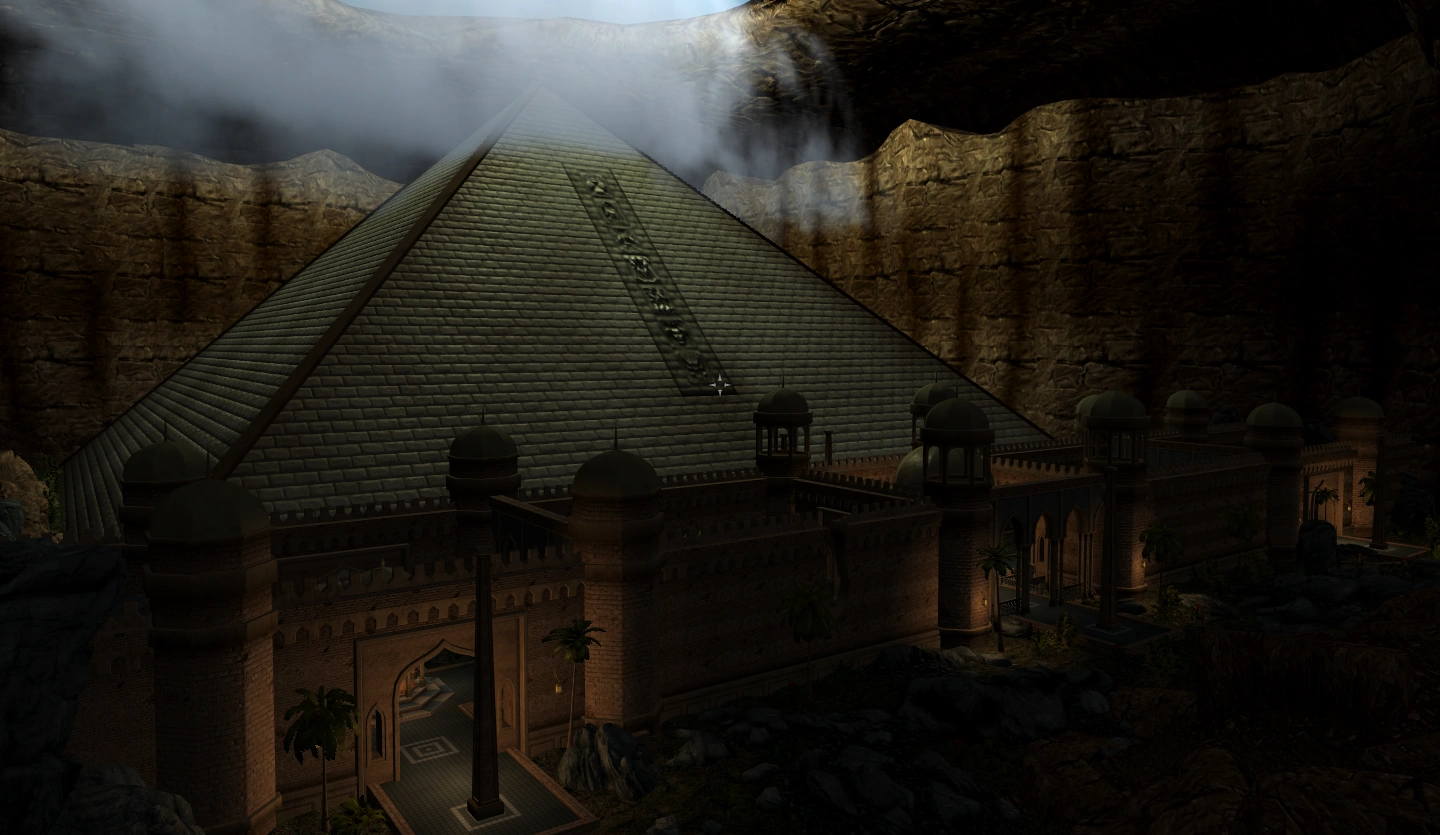

The Mausoleum
Enter the Mausoleum through the central gateway. The way is pretty much straightforward. The Dragonborn will find a table with a bust of Gray Fox and a Flawless Diamond. Take it while sneaking, and the way ahead will open. Next room is a grand round hall. On the right side of this hall lies the tomb of The Champion of Cyrodiil. Near his tomb, his sword and shield can be found. The quest marker points toward the carpet in front of his tomb. Get there and equip a bow and The Arrow of Extraction. Hit the bluish green round target on the other side of the hall. On a successful hit, the glowing orb in the center of the hall will slowly start moving to the right, outside of the hall into the balcony. Here, Sheogorath awaits the Dragonborn.
Talk to Sheogorath. After a brief conversation, he will allow the true form of Champion of Cyrodiil to come and talk to the Dragonborn. The Champion will be pleased to meet the Dragonborn and will tell him/her his experiences from the time of Oblivion Crisis (only if the Dragonborn wishes to hear him). Next, he will guide the Dragonborn to a portal to ‘Somewhere in Akavir’. In the end, The Champion will again turn into Sheogorath, and return to Shivering Isles.
On entering the portal, the Dragonborn will be teleported to a beautiful valley somewhere in Akavir. Here there will be an Urn containing the Gray Cowl of Nocturnal.
Get back through the portal. The Dragonborn will be directly teleported to ‘The Portal Room’. Use Ancient Vision and get to Skyrim. Go to Seviana’s House and talk to her. She congratulates the Dragonborn and asks for a last favor in the next quest – Time for the Farewells.